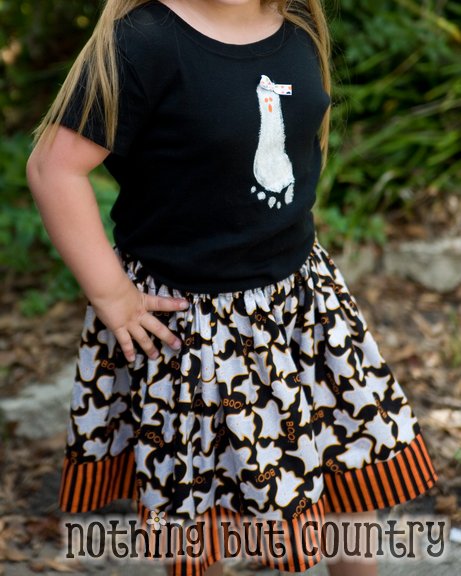
I love this skirt. I make this skirt over and over again. My girlfriend made one for my daughter for her birthday 3 years ago and since then I have been hooked.
She loves skirts to play around in. In Florida it is so hot, skirts are perfect way to keep cool.
Halloween is also my favorite holiday and had to get a jump start making a cute outfit to wear to celebrate the occasion.
You can easily do this with 1 material. Most of her skirts are 1 material but this one is two for extra flair.

I wanted my daughters skirt to be a total of 15 inches long. I hope I can share with you the math that I figured this out.
I wanted the trim to be 3 inches wide (orange and black) – 3 inches plus 1/2 inch hem turned under and 1/4 inch seam allowance to attach it to the top fabric = 3 3/4 inch strip of fabric. Also fabric comes 45 inches wide. I cut a 45″ x 3 3/4 inch piece of orange/black
Ghost fabric – I knew I would have 1/4 inch for seam to attach to the orange/black fabric. At the top I had to turn it over for the elastic casing. I was using 3/4 of an inch elastic. I needed to turn my fabric at the top over 1/4 inch then 1 inch. So in total I needed to add 1 1/2 inches to my ghost fabric.
Math (I am not a math major at all) 15 inch dress – 3 inch black orange = 12 inch ghost fabric + 1 1/4 inch for the top and 1/4 inch for the bottom = 13 1/2 inch of ghost fabric I would need to cut.
That is the hardest part of the entire process. DONE!
I cut my ghost fabric 45 ” x 13 1/2″
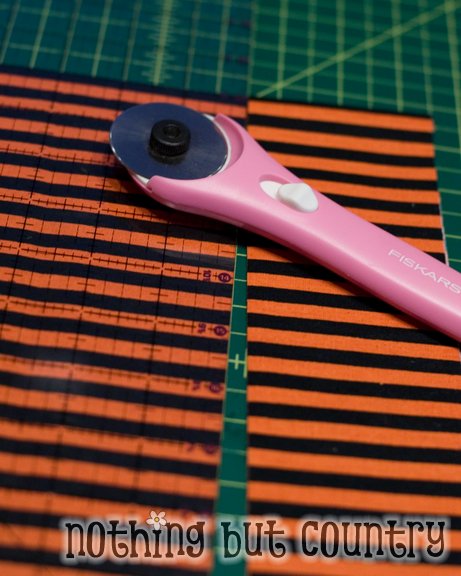
I cut my Orange/Black 3 3/4 ” x 45″

The bottom of the ghost fabric, and the top of my orange/black fabric I pin them right sides together.

I use 1/4 inch seam and sew the 2 pieces together. When I open it up this is what I will see.
For security you can do 2 things. You have an edge to keep from fraying. You can use pinking sheers to cut it, or I use a setting, and do a fake serge. I am not even sure if it is supposed to be that but I do. Here is what it looks like.

The symbol under the top red light. Is what I set my machine to. I am very technical here. I apologize for that. Figured pictures were easier to show you.
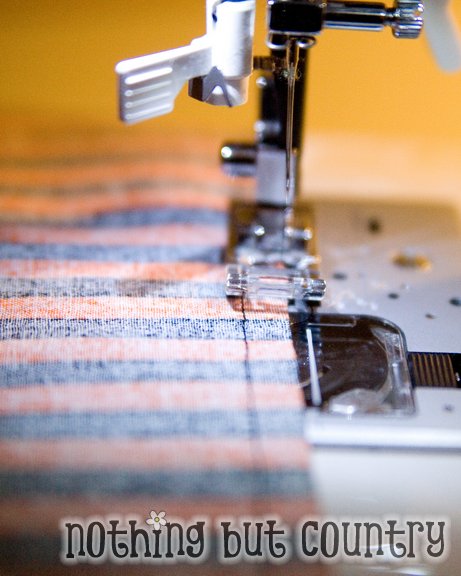
I line up the edge of my fabric to the edge of the stitch and run it like a serge. It works great and it keeps my fabric from fraying.

Here is what it looks like when I am done 🙂
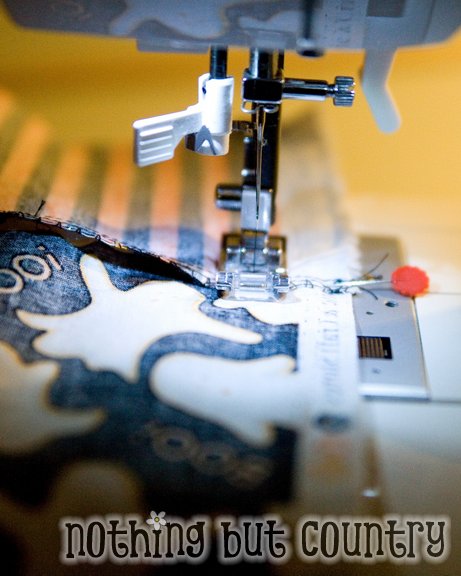
I now fold the skirt in 1/2 right sides together. Line up the selvedges. Do not cut off the selvedge. Then sew a straight stitch on the inside portion of it so that when you flip the skirt right side out- you do not see the selvedge any longer.
Having 2 fabrics be sure to line up your orange/black carefully.

Here you can see I am lining up the selvedges to complete the entire circle of the skirt.
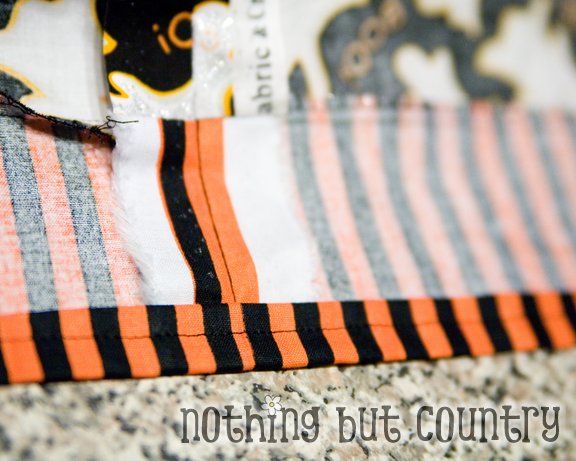
Using an iron- turn under the orange/black section of the skirt for a hem. I turn it 1/4 inch then again 1/4 inch, then iron it and sew it across.

Now iron the top and turn it over. 1/4 inch and then 1 inch. You then need to sew your casing of your elastic.
Best tip, I put the selvedge edge to be the back of my skirt for my daughter. I start sewing this casing/hem 1 /2 inch away, sew all the way around and stop 1 inch before the edges match up. You need to save a hole to slip your elastic in.
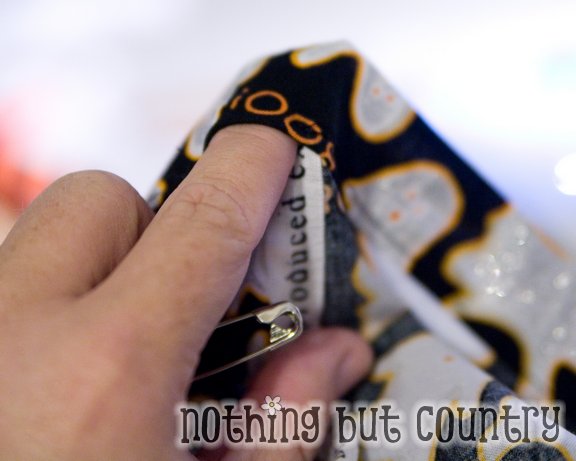
You can see my finger the section I left open on the top of the skirt casing.
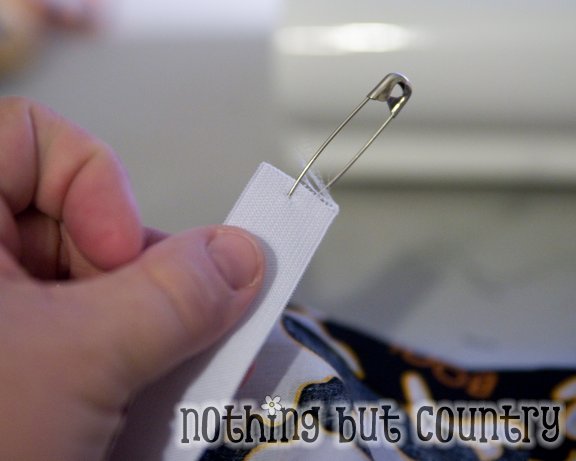
My 3/4 inch elastic, I put a large pen on the end to help my guide the elastic into the skirt. Waste I needed to make was 16 inches so I cut the elastic 16 inches. Then I started to slip it thru the casing at the top of the skirt, using the pen to help guide it. Don’t let the opposite end go in or you will have to redo it.
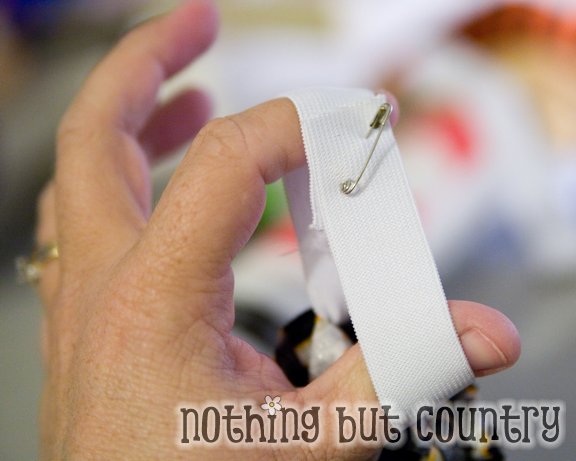
Once you get the elastic all the way thru your skirt. I pen it so that I don’t accidentally sew the elastic twisted.
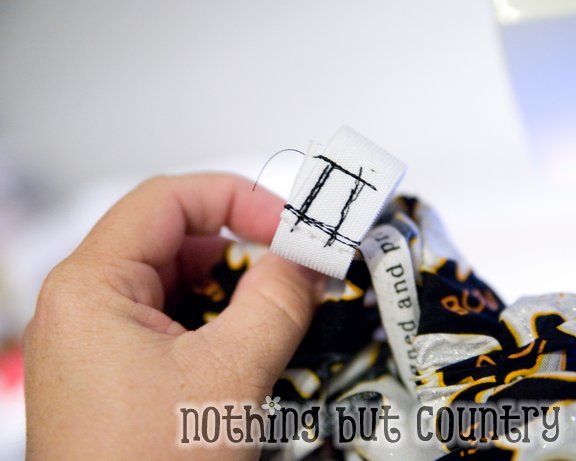
I allow the elastic to overlap each other about an inch. And I sew a pattern like this with the 2 elastic pieces. It helps hold it securely. Not very neat, but who will see it once it is inside of the skirt right?? HAHA
(Yes I know I needed my elastic to be 16 inches and just lost 1-1 1/2 inches, however I want the skirt to stretch just a tiny bit when she pulls it on and not be too loose to fall off of her)
Once I am done, I pull the skirt to slip my elastic completely inside of the casing and I sew the opening shut.
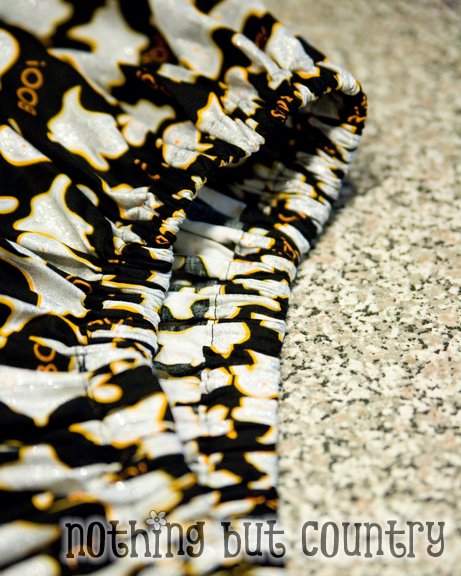
ALL DONE!!
Now I have myself a very nice skirt. This skirt will make up to a size 4T. Once you need a larger size skirt, it can be done. You simply need to follow the directions making 2 skirts and sewing the 2 together, so you end up a wider waist and then cut the elastic accordingly for an older girl. You can even do this if you want more fabric to gather and make it more “twirly” skirt. 🙂

I love this outfit. 🙂 Very easy to do.
If you would like to know how to make the headband- the tutorial is here.
The ghost footprint shirt tutorial is here.
If you have any questions feel free to comment and I will reply. I hope I explained this well. This is my 1st big sewing tutorial and I am not sure if my lingo is off. I am pretty much self-taught and any lingo that I do know- my girlfriend taught to me. 🙂





Really Cute!
Love it! My daughter will, too.
Thanks for making it an easy one!
I’m just starting to learn how to sew and this looks like a simple project for me to start on. Thanks for the inspiration!
It’s funny, we must have gone to the same school of self teaching because I would do everything you did here except that I have an actual serger, so I would have serged everything. Gosh, little girls can get away with such simple skirts! I guess I could too, but I’d look like a balloon. Are those ghosts glow in the dark? There is something different and glimmery about them.