
On my tree I have alot of favorite ornaments but each year I love these. My kids love to look at them and compare.
They are so easy to make and great to make extras and give as gifts to Grandparents.
This one you see above is my Son’s footprint in 1999 🙂 SO SMALL. He loves to see this every year. My daughter can’t believe her Big brothers foot was that small.
I wish I had step by step instructions to show you but I will certainly share them here as best as I can.
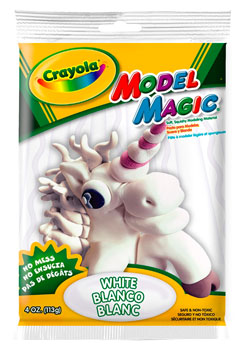
Supplies Needed:
Model Magic (Found at JoAnn’s) in white. (Or any other color you wish)
Styrofoam Plate or Plastic Plate
Butter Knife (for kids can use plastic one)
Skinny Ribbon of your choice
Hot Glue Gun
Plaid Acrylic Paint of your Choice. (In these I used either metallic gold or their glitter paints)
Paint Brush
Sharpie Marker
Instructions
1- Pull off a piece of Model Magic and roll it in a ball. Make sure it is about 1/3 of the bag (you may need more if they are older)
2- Using a Plastic or Styrofoam Plate- your rolled up Model Magic – place on the plate and squish it down like a pancake flat. Flatten it enough that it is 1/2 inch thick and big enough of a pancake to fit your child’s hand or foot.
3- You will notice your model magic now shows your finger prints from squishing it down. Flip over the model magic. (other side should be smooth)
4- Press your child’s hand or foot into the model magic for a deep imprint.
5- Use your plastic knife cut around the outside edge of your hand/foot.
6- Using the knife again- make yourself a hole so that later you can use it to hang/thread a ribbon thru it later.
7- Remove all extra pieces of the model magic and you can use the butter knife to smooth any edges along the outside.
8-Allow to dry completely. 24 hours Approx.
9- Once Dry- turn over your hand/foot print. Check for the back of it to be dry. If it feels wet- allow that back to dry. (Usually the back will dry in only a few hours)
10- Paint your hand/foot print. Either with glitter paint or a solid color paint of your choice. Allow to dry. (I am usually in a hurry so I will use a blow dryer to make it dry faster)
11- Cut your self ribbon to loop thru the hole to make a loop for hanging on the tree glue or tie it.
12- Make yourself a bow and hot glue it to the front of the ornament to help cover the hole if you desire.
13- I used a sharpie marker to write the name and date of the child on the back of the Ornament to remember the year.
THAT’S IT!!
It is extremely light weight. It dries and feels so neat. I now have them 12 years on my tree and that footprint still looks great!
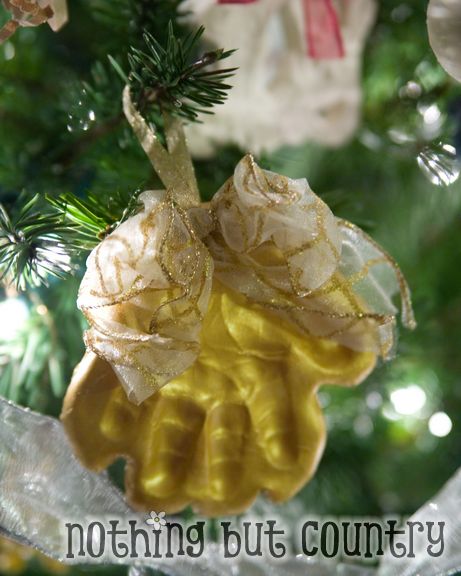
Handprint painted gold metallic
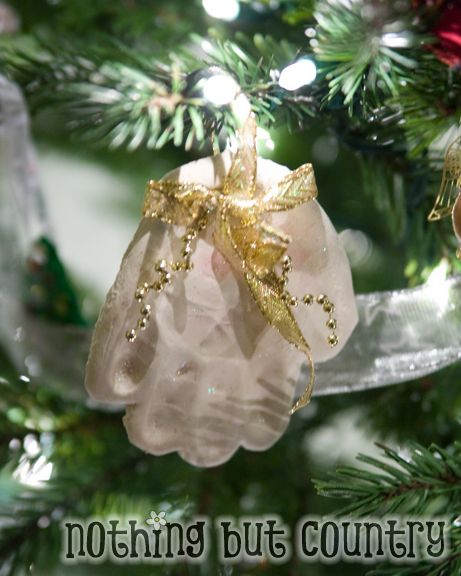
Handprint painted with clear glitter paint.
This is a great project to do with the kids. And you will be so glad that you did years from now!!
Happy Holidays!!














Okay, I gotta ask, though. How big do you let them get before they are too big for the tree? LOL We’ve done the hand/foot print rein deers, but they’re too big for the tree now.
Oh my gosh these are adorable and such a keepsake
[…] Baby’s first Christmas footprint […]
[…] Heirloom Kids Ornaments at Nothing But Country […]