TO VIEW ALL POSTS IN THIS SERIES CLICK HERE

Continuing our series of our dog play house. (see other previous posts in related links located at the end of this post)
Here is our make shift pattern for the dog house.

Our card table measures on the top 34 x 34 inches. And 28 inches high.
I purchased all of my large pieces of felt at Jo-Ann fabrics. I purchased 1 yard of Brown and 2 yards of Lime Green.
We wanted the roof of our dog house to be brown.

Using a T-square ruler- we cut our roof top piece to be 35×35 inches. I wanted 1/2 inch sewing allowance on all 4 sides.
Using a rotary blade made it extremely simple. We marked it with a permanent marker because we knew that we would be sewing it and the marks would then disappear inside of the seams.
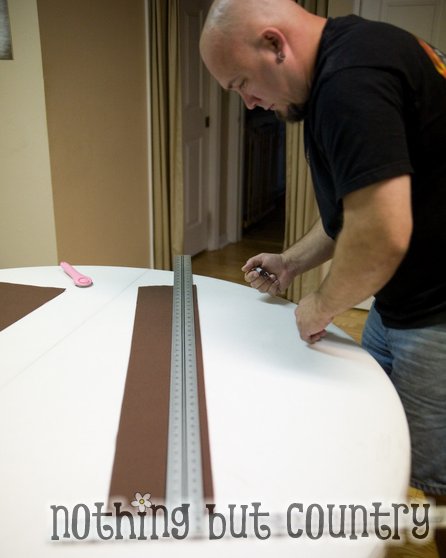
The roof line of our dog house- we also wanted brown. So we cut out 6 x 35 inch pieces. 4 of these one for each side.
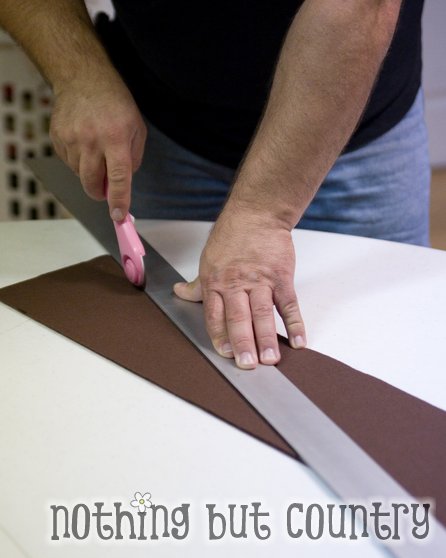
For the front and back of the dog house. We wanted to have a triangle front so it looked more like a dog house. We found the CENTER of our 6×35″ piece. Using our T-Square from the center top to the lower corner we cut out our triangles. We did this on 2 of our 6×35″ inch pieces (for the front and back)

Our dog house is going to be lime green. Using Lime Green felt on a large roll (Found at our local Jo-Ann’s Fabrics) We knew our table was 28 inches tall. And we were not making a bottom 1/2 inch seam at the ground. Felt does not fray so there is no need to sew it. HOWEVER– do not allow any of the marker to show on that seam since you will not be sewing it. You may mark the other 3 sides.
Needing only 1/2 inch seam allowance on the left and right sides and the top. We needed to cut our lime pieces 35″x28 1/2 inches. We cut out 4 panels.

For reference here is what the front of the playhouse will eventually look like.

Here is a side view of the playhouse for reference.
We will continue tomorrow in assembling the puppy play house and the finishing touches tomorrow. 🙂
TO VIEW ALL POSTS IN THIS SERIES CLICK HERE












[…] DIY- Cutting out the felt pieces (Playhouse Series) – 1 freebie(s)? […]
Love it!!! How did you attach the smaller felt detail pieces (the dogs) to the larger back pieces? I have never been able to find any glue products that work very well with felt…the glue always seems to leak through to the front. I was just curious which adhesive you used. I love the felt with the adhesive backing, but it doesn’t seem to secure for very long periods of time. This is a REALLY cute project – your daughter is going to have a BLAST at her party! 🙂 Thank you for sharing!
I glued them on the same glue I used to make the dogs 🙂 Has a great hold like sewing. 😉
How cute! I’ve been wanting to make a house version, but never thought of a dog house!