
One of the easiest things I feel I make for my daughter are her fabric headbands. The fact I can make it to the correct size for her head is great.
Her head is a little bit bigger than her friends but not as big as an adult so its hard to find perfect fitting headbands. Plus I can wash these with no worries.

With your choice of fabric cut a piece that is 3 inches wide and at least 22 inches long (or longer if you need more for an adult head)
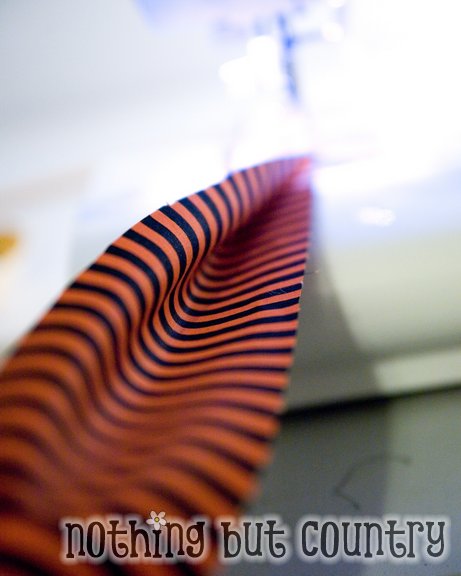
Fold the fabric right sides together

Run a quick stitch on your sewing machine down the 1 long side.
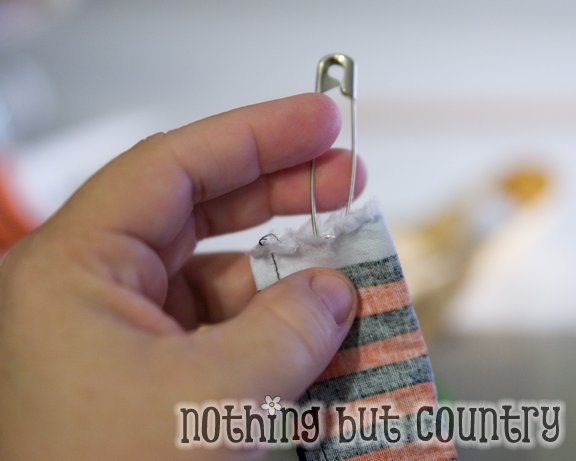
I use a large safety pin and I pined it to one end.
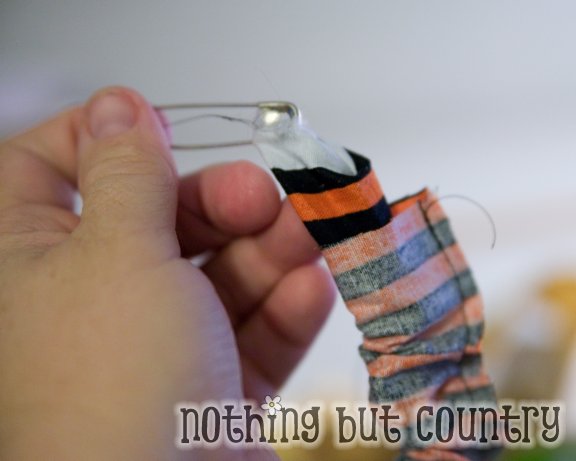
To help turn your piece right side out, I tuck the pin down the middle of the tube and it helps guide and flip your fabric so its wrong sides together.
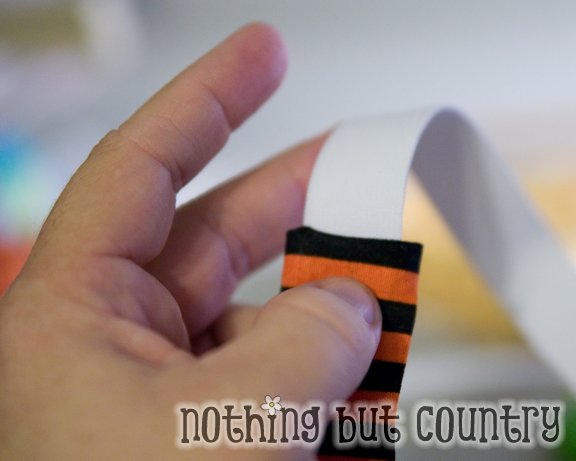
I then iron my headband flat then tuck in 1 end and add a piece of 3/4 inch elastic into the end of 1 part of the headband.

I sew it on securily. Then i figure out how much elastic I will need for my daughter. Her head measured 22 inches around. I trimmed the fabric to be 20 inches and added 1 inch of elastic making the head band 21 inches. I wanted it to be 1 inch shorter than needed so she got a nice secure fit and the elastic will expand enough and hold into her hair. So then I trim the elestic to 1 1/2 inches and tuck 1/2 inch into the other side of the fabric headband.
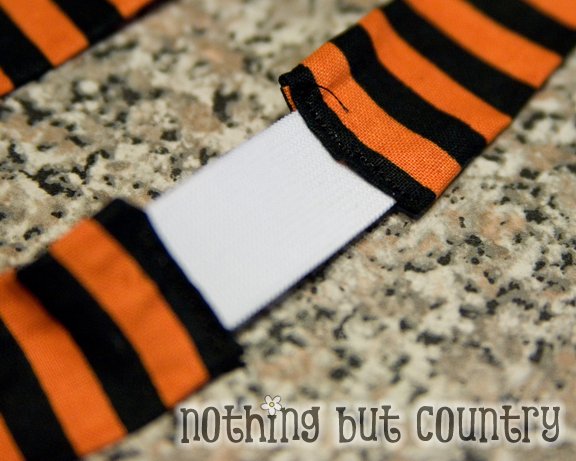
So this is how it will look like once the 2 ends are sewn. Be sure to tuck the ends of the fabric into each other a little bit. Just rolling the fabric back into itself. If that makes sense. So you get a nice finished edge you don’t need to hem.
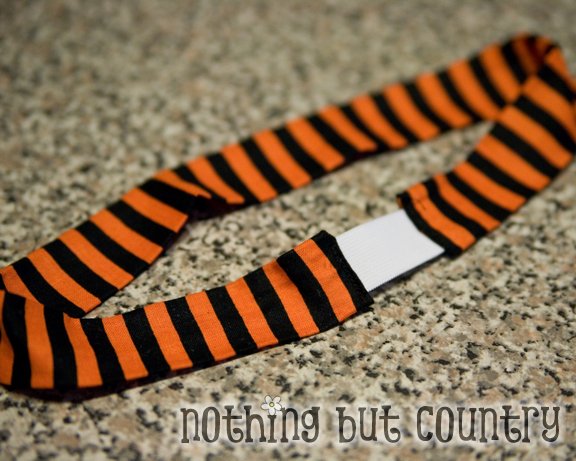
Now you have yourself a really nice new fabric headband. Can coordinate all your headabands with left over pieces of fabric with each project you make. (Which is what I do. )
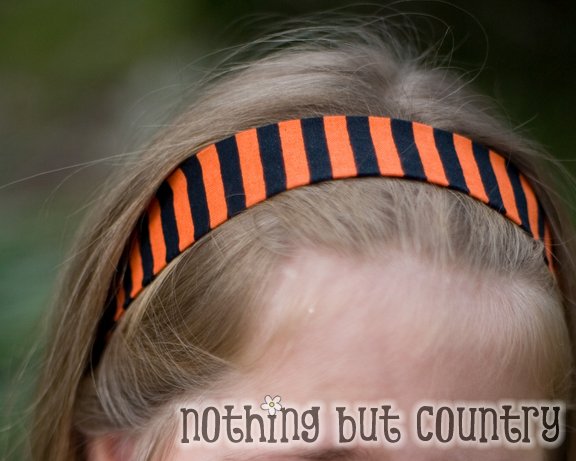
It fits so nicely in her hair. Not too tight and not too loose and holds her hair just right. 🙂
Hope this little tutorial helps you. If you have any questions or confused by my instructions. Feel free to comment and I will reply and help explain it a bit better. It really is a very fast project. I can knock one of these out in about 5 minutes 🙂








This is a great idea! Thanks so much for sharing the “how to”! I’m going to have to try this!:)
[…] DIY- Fabric Headband Tutorial {Halloween} – 1 freebie(s)? […]
[…] DIY- Fabric Headband Tutorial {Halloween} | Nothing But Country One of the easiest things I feel I make for my daughter are her fabric headbands The fact I can Her head is a little bit bigger than her friends but not as big as an adult so its hard to find perfect fitting headbands Plus I can […]
[…] If you would like to know how to make the headband- the tutorial is here. […]
Super cute! You are so talented!
I’d love for you to link up to our Crafts for Under Twenty Somethings party going on now. It’s a blog hop specifically for kids and teens related “stuff”, so your post would be perfect!
Melanie
http://bearrabbitbear.blogspot.com/2011/08/crafts-for-under-twenty-somethings_24.html
I love this i will be making some for myself.