I am so excited to share with my readers this adorable project by my friend Jenny Thrasher of Mouse Tales Travel. I love reusing containers in a new way. And she did exactly that!!!
Jenny Thrasher is a wife and mom to 3 beautiful children. She enjoys crafty things, fancy things, sparkly things and all things Disney! Jenny has the happiest job on earth as a Disney Travel Planner at Mouse Tales Travel!
Thank you Jenny for Guest Blogging with us today!!!
Take it away Jenny…….
One of my very favorite souvenir’s are pressed pennies! Pressed pennies are just that, pennies that are pressed/squished flat and elongated and embossed with a design. Disney Pressed Pennies are my favorite, but I love hunting them down just about everywhere I go! My kids have even been known to hunt them down for me <3
When I visit Disney, I KNOW I’m going to find the Pressed Penny machines. It’s a given, I can’t help myself. Each penny costs fifty-one cents. At one time, I just dumped the coins in my backpack and off I went. Not such a great idea because I had to dig through to find them at the bottom. You could also keep your coins in a coin purse, ziploc bag, etc. When I saw this idea on pennycollector.com, I loved it! However, because I love fun and fancy things, I had to kick it up a notch!
Pennycollector.com suggested using Mentos Gum containers and mini M&M containers as coin holders! GENIUS! …I couldn’t wait to get started on these so I started peeling the labels off in the car while at a stop light.

After removing the labels, it dawned on me that I must do something with the original contents of the containers. It might seem that there would be many options, however, I could only think of one. ……it turns out I didn’t want to diet that day anyhow 😉
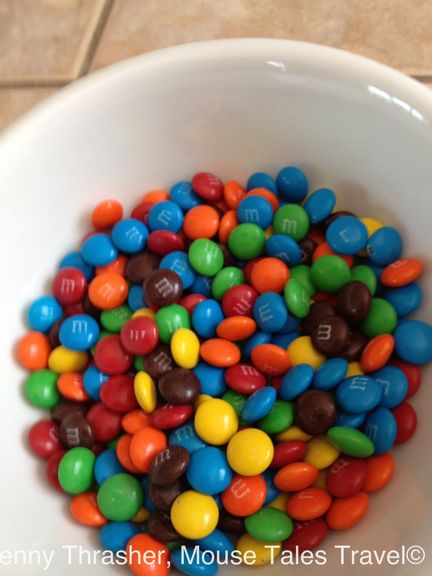
I was able to multi-task, taking care of the original contents and working on the project at the same time (sometimes I really impress myself). My supplies included scrapbook paper, modge podge, paint brush, cutter and of course, the containers.

This project is really simple and would be really fun for kids to do as well! After cutting the paper to fit the container, I slathered some modge podge on the container and back of paper.

Then I started wrapping the paper around the container, smoothing it down and applying additional modge podge as I went.

I realized at some point that while the polka dot paper was very ‘Minnie Mouse-ish’ it was missing ‘character’. So, I found these autograph stickers I’ve been holding onto since 2005! PERFECT! Once the paper and sticker was applied, I put another thick coat of Modge Podge over the top for a little extra sticking power 😉

They turned out pretty cute! Easily customizable for any character and boys or girls!

Of course, I had to decorate one with Lightning McQueen (Mater is on the back) in celebration of the upcoming opening of Cars Land at Disney’s California Adventure Park!

Stacking your coins in the M&M container, 2 quarters/1 penny, 2 quarters/1 penny, makes it super easy and organized when you find a Pressed Penny machine! (and your coins will smell like chocolate!)

Ta-Da! They’re ready for a day of Pressed Penny collecting at the parks!

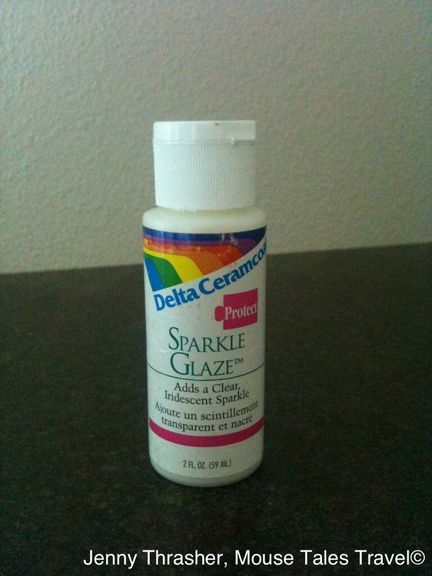
You could also get extra fancy and apply a top coat of Sparkle Glaze! I LOVE this stuff! I think I’ll use it on the Cinderella container!
Ready to hunt Disney Pressed Pennies? I would love to help plan your trip! As a Disney Travel Planner, I offer complimentary concierge level planning services! Request your free Disney vacation quote at www.mousetalestravel.com or contact me at jenny.thrasher@mousetalestravel.com
Mouse Tales Travel – www.mousetalestravel.com
Follow Jenny on Facebook – www.facebook.com/tiaratravels
or drop Jenny a line at – jenny.thrasher@mousetalestravel.com


















What a great idea! I will definitely have to make one of these before our next Disney trip. I think I even have the same sheet of stickers as you! 🙂
Hi Jenny, these are super cute, and I am getting ready to make some for our trip to Disneyland. I have one question — did you only use the Modge Podge to secure the paper, or did you apply a coat on top? Thanks so much for the cute tip!