TO VIEW ALL POSTS IN THIS SERIES CLICK HERE
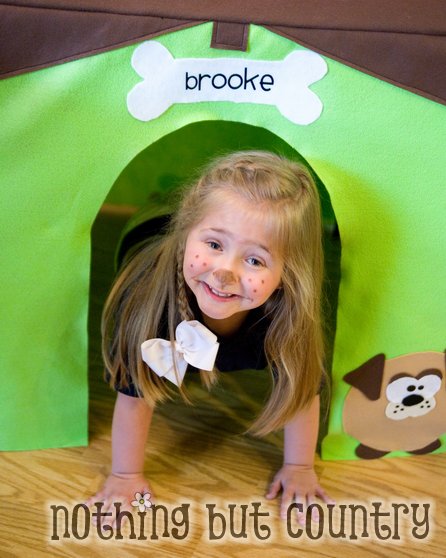
Finishing up our Dog Playhouse series.
Time to put this puppy together (hahah)
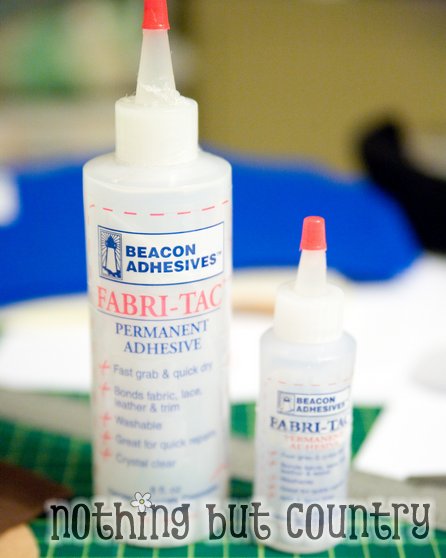
Again using my favorite Fabri-Tac glue from Jo-Ann’s Fabric I started gluing on all my pieces.

On each of the 4 lime green panels I glued on the triangles and the rectangle pieces. The side pieces were the regular rectangles, and the front and back were my triangles.

On the front panel I added my personalized bone to the top of the house. I wanted to make sure I cleared enough space so I could cut a hole later on for the door way.
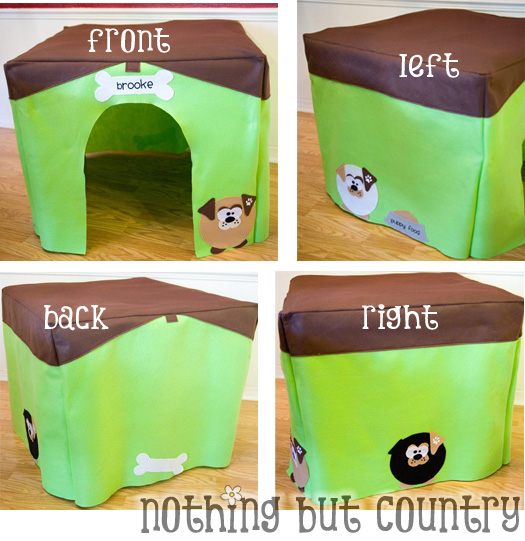
All 4 sides I continued to glue on my bones and food and chubbie puppies before I started sewing.

I then sewed for extra hold the brown roof pieces onto the lime panels.
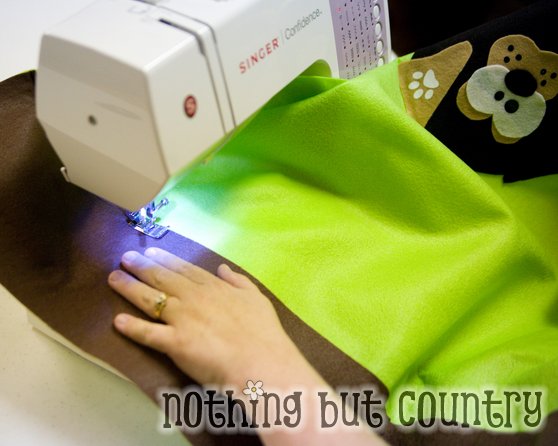
Not really shown here- however once all my brown were sewn down- I put the sides of the house together. The roof went on last.
**NOTE: I do want to mention on my dog house, at the top of every arch panel (front and back) I added a little square piece of brown at the tip for decoration, no pattern needed I just cut from a piece of scrap and glued it on and sewed it before I started putting the sides together**
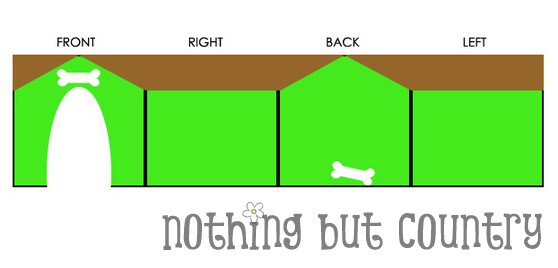
This is how I sewed my sides together before I sewed the 4th edge into a full cube. You sew each panel right sides together open it up and add your next panel. I wanted my front panel on the far left- so I could then cut out the door.
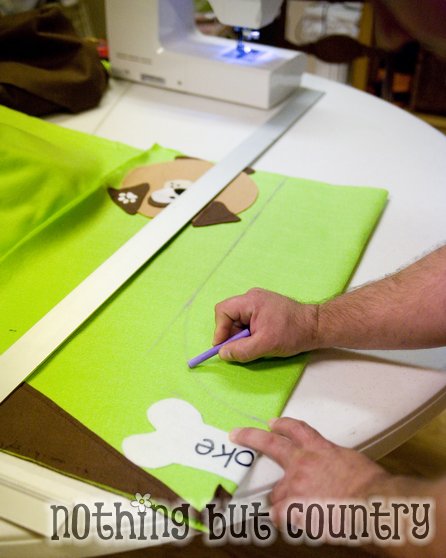
I folded that front panel in 1/2. Using chalk I marked 7 inches wide by 23 inches. Then I hand drew a rounded edge. So it would be a round top door to the dog house.

Using the rotary blade cutter, I cut thru the folded front panel. So when I opened it up my door measured 14″ x 23″ tall. Just enough for my 6 yr old to crawl in and out well.
I simply used a damp rag to wipe off the chalk line.
I then proceeded to sew the 4th side of my cube together. I made sure I sewed 1/2 inch seam allowance on all 4 sides.
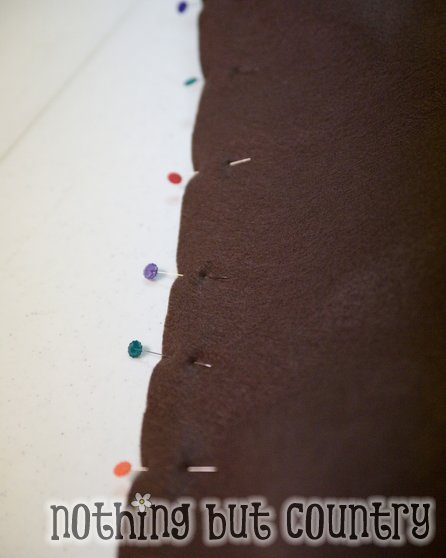
Turning the cube inside out. I then attached the roof. Pinning it all the way around.

The corners were the hardest. There will be a bit extra. I just sewed all the way around then trimmed any excess I had left.
Sew again- using a 1/2 inch seam allowance or your house will be too long on all 4 sides.
Flip the house right side out- and you are DONE!!
Slip it over your card table and admire you awesome work!!
Hope you enjoyed the playhouse series posts and if you make a card table playhouse, I would love it if you emailed us a photo to share. We would love to feature you!!
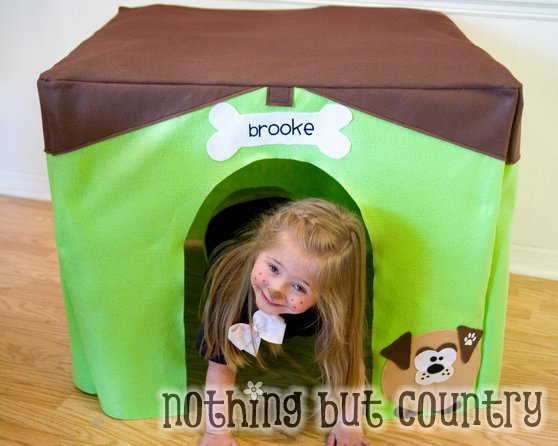


















Oh my gosh this is super cute, she is going to have a blast playing in this.
This is just too adorable!!! Think I may do one for my actual dogs!!! Thanks for sharing! Glad your little one is enjoying it!!!
[…] DIY – Assembling the Playhouse (Playhouse Series) – 1 freebie(s)? […]
Awesome craft! So cute and she is adorable:)
Absolutely adorable! So creative.
Hi, could you tell me if I could pay you to create this type of slip cover for my card table. I don’t have access or know how to sew, but I LOVE this idea. I would of course by the materials and pay you for doing it. Please let me know if you would be willing to do this. The party isn’t until Jan 21, 2012 so there’s plenty of time before I need it. Thanks, Laura