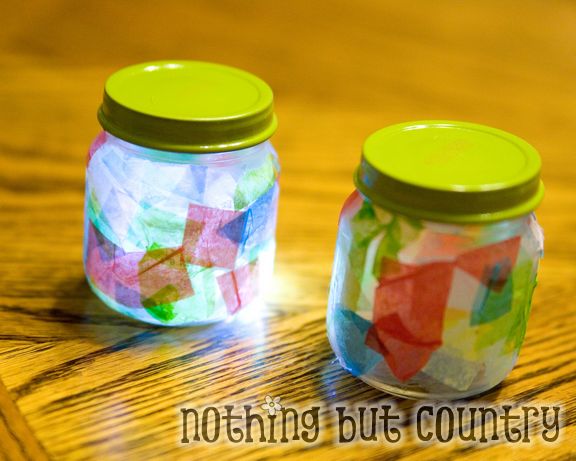
Being room mom again this year has been so much fun. We were having our end of the year party. I needed a few crafts for the party. We were having a Pizza & Pajama Party.
We played a few fun games and did 2 crafts. This was my favorite craft.
My girlfriend a while back gave me a bunch of baby food jars. I knew I wanted to try to use them. I also was on a pretty strict budget for this party.
I tried to locate tea lights that were battery operated since we were working with a 1st grade class. However everywhere we went they were too expensive.
I called Jo-Ann’s Fabric and Craft store. There was a very sweet lady that helped me out. I told her I was on a budget and what I wanted to do but what could I use for the lights. She told me they had a pack of 12 LED lights for 16.99. That was great because tea lights I was pricing about 2 for $4.00 and the ones at the Dollar Store were cheap and most do not always work.
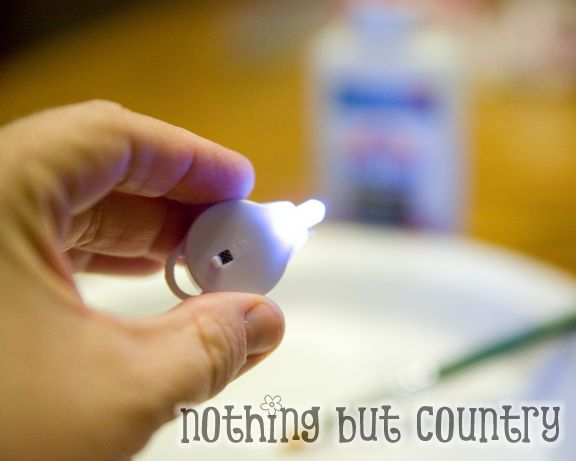
My son and I headed out. I also happen to have the Jo-Ann’s IPHONE app on my phone and was so very excited to find 50% off!! WOOHOO! EVEN BETTER. I was able to get 12 lights for less than 9.00!! PERFECT!! Once I got to Jo-Ann’s the sweet sales associate helped me locate these lights. Which were found in the floral area of the store. Not too far from the wedding aisle. I wish I had a photo of the packaging to show you myself- however you can find them DIRECTLY on Jo-Ann’s website HERE!! They are called Submersible Light 12PK – Clear Bright Lights
SOOOO NICE and bright too!! Much better than a Tea Light. I was a happy camper!
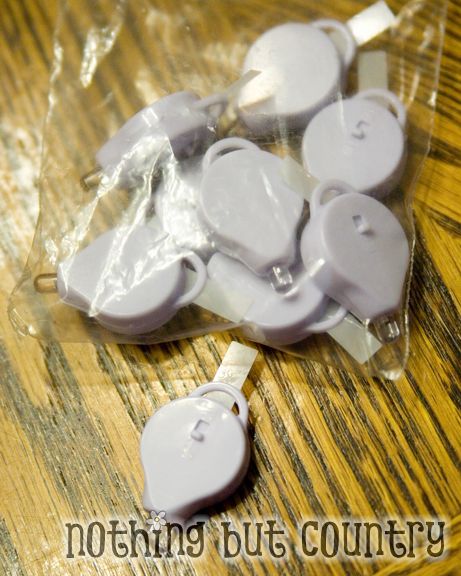
They have little papers in the back that you remove. They also say these lights are WATER PROOF. They can actually be put in the water. HOW COOL IS THAT?!?
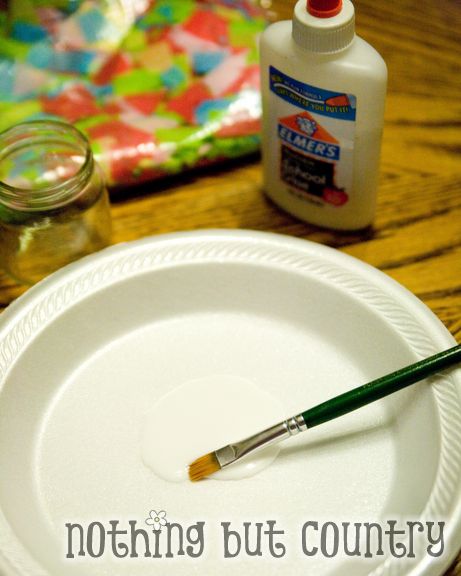
You’ll need some Elmer’s Glue and a paint brush. I provided all the kids with a Plaid Crafts paint brush. My favorite brush ever. I have been using them for YEARS and I actually had about 20 of them in my house so I was able to allow each of the kids in my daughters class to have their own brush for this project.
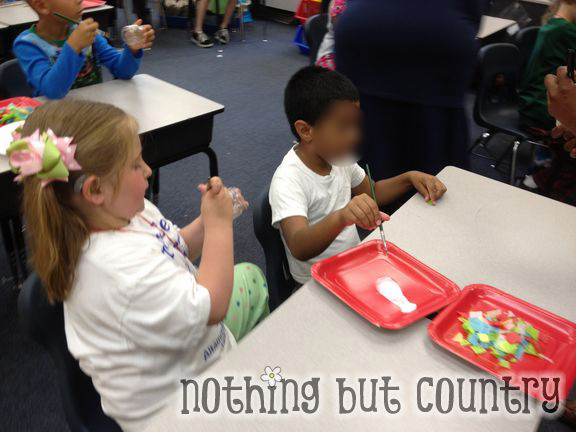
Here is my daughter and her classmates working away on this craft.
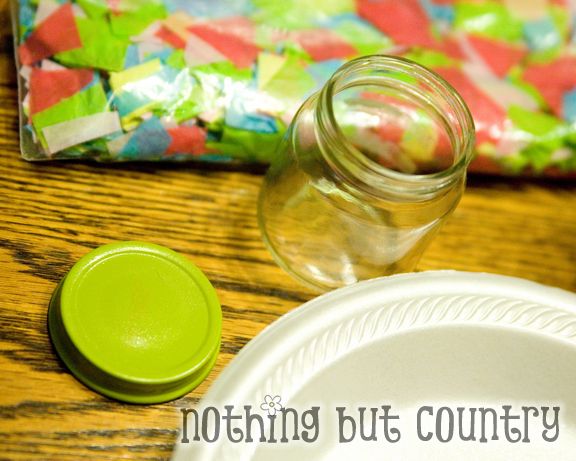
My wonderful husband spray painted the lids to the baby food jars. Any size baby food jar would work for this because how small the light is. You could use the smaller size as well that would look so cute!!
I use plates for easy clean up for my Elmer’s glue to be put on.
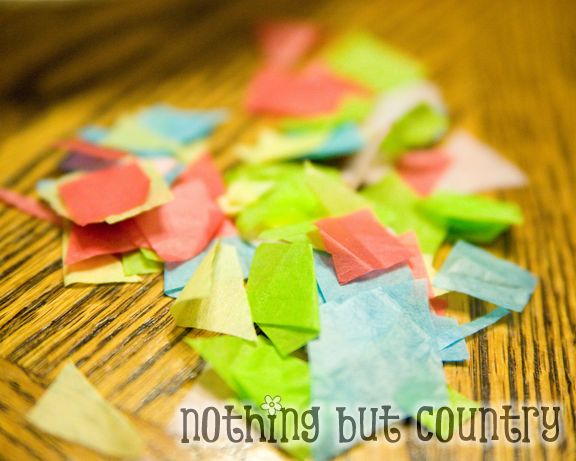
I also used tissue paper that I purchase at Jo-Ann’s Crafts and took a few sheets and cut them up into small pieces. It made enough for 15 students and I have left overs for other projects. I even used some tissue paper I had left over in birthday bags 🙂
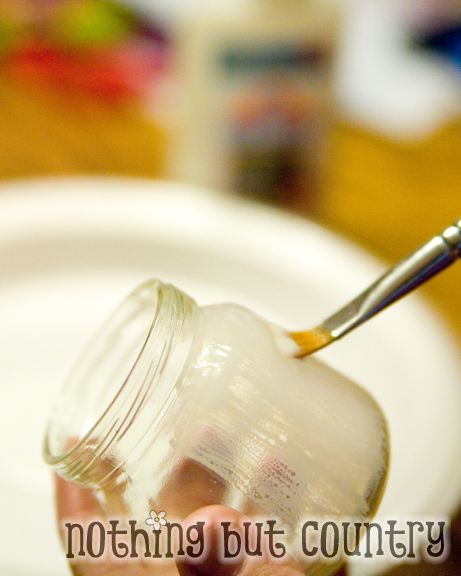
Paint a layer of glue all over the jar liberally. Avoid glue on the neck of the jar where you will be putting the lid on later.
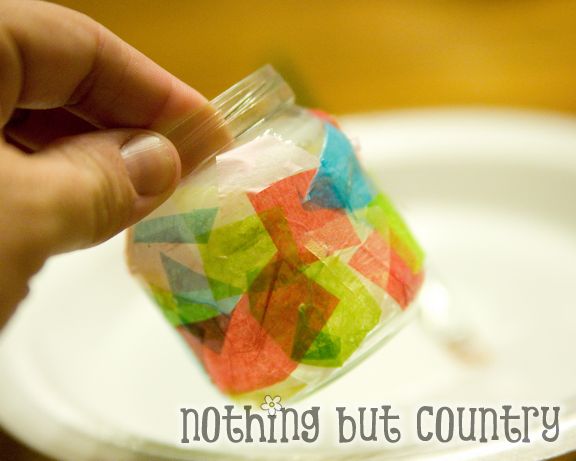
Start layering pieces of tissue paper all over the jar. Overlapping makes for pretty color combinations. I even had the kids tear some pieces in half if they were too big and to give it different shapes too.
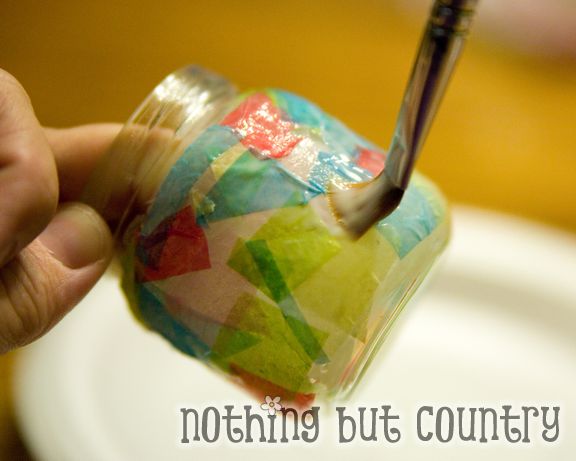
Seal your entire project again with another good coat of glue. To seal in your tissue paper. The glue will dry clear.
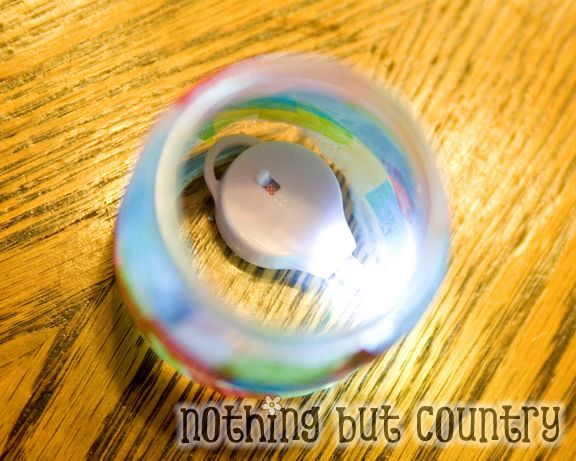
Once dry- add an LED light into the jar.
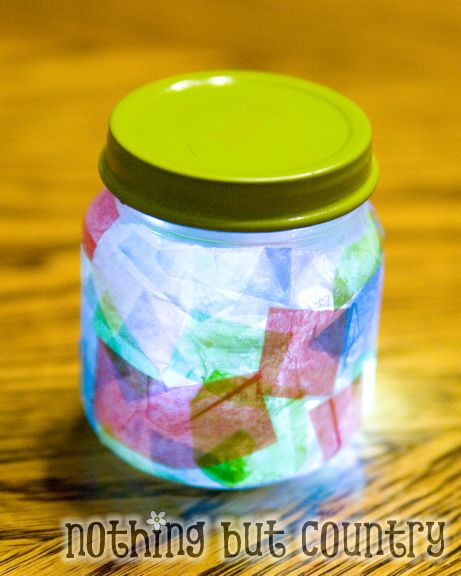
OOOHHHHHHH…. AAAHHHHHH…. SO PRETTY.
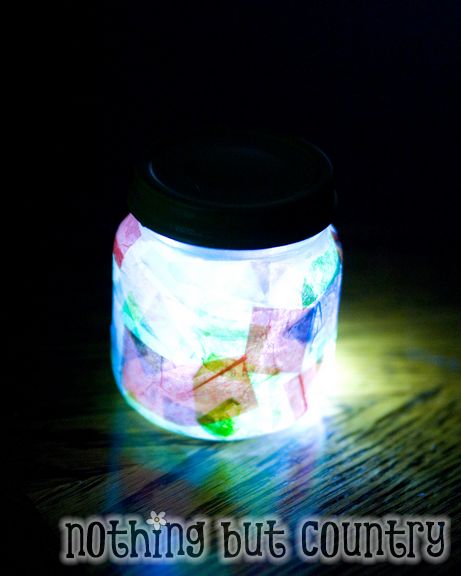

I made one as did my daughter with her class.
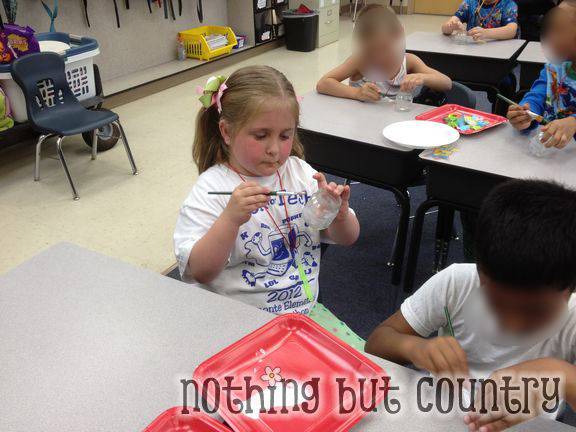
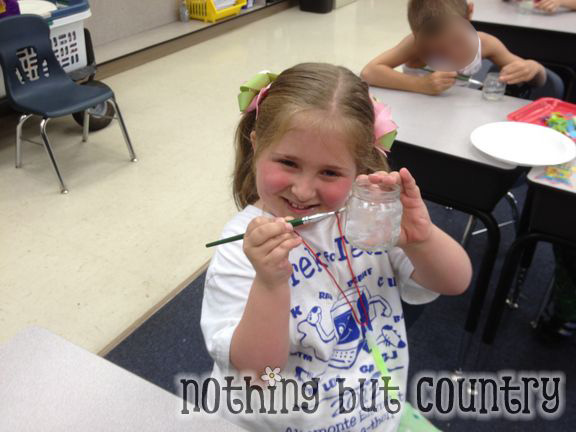
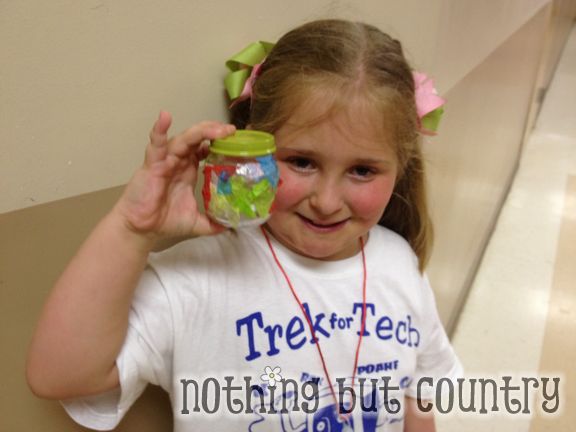
She was extremely proud of her creation. All the kids in the class LOVED LOVED IT!!
The project dried very quickly and each kid felt like they had something special to take home from their end of the year PJ party.
Cost for the entire project
Baby Food Jars — FREE (from a friend)
Tissue Paper – – $1.00 (the other colors I had on hand from previous birthdays and reused)
Spray Paint — I had on hand left over from another project for the lids
Elmer’s Glue— The school & I had on hand from other projects
Plaid Brushes— I had on hand- I am a crafter after all and always have brushes
LED Lights — From Jo-Ann’s Craft Store Usually $16.99 for 12 however used my Iphone Jo-Ann’s App for 50% off = $8.50 for 12 ( $0.70 each)
Total per Light – approximately $0.75 per project!!
And I have left overs to make more too! Not too shabby for a room mom on a budget!!
This would also make a great project during the summer with your kids. I made more of these lights today in fact since today was a rainy / storm Florida afternoon.
HAPPY SUMMER CRAFTING!!
**Jo-Ann’s Crafts, Plaid Crafts and Elmer’s Glue did not ask me to write this post– nor were we compensated for this post– all opinions and views are solely mine. We just love them and will keep crafting with them!**




















Adorable MB!! I love how easy it is to do- and cheap too!! I wonder if we could do it with our left over peanut butter jars (larger than baby food) and use Glow light necklaces, it would be much shorter term, but it’d be fun for a living room slumber party!! You are so creative!
What a great idea!!
I need to get my hands on some baby food jars 🙂
Thank you so much for sharing this fabulous idea. I have a new metal gazebo that we bought a “chandelier” for. I was trying to think of how I could brighten it up since it is all black with 8 tealight candle holders. This is perfect! I love it!
AWESOME! I think we could sure make this work with all those extra jelly jars and pint canning jars I have been saving for the PERFECT project! These will be so much fun on the deck this summer. And I don’t have the brushes, but I do have a plethora of Jen Manufacturing Poly-Sponges. Thanks for sharing!!
Not only a good project for the kids, if done with the tea light candle holders, an easy project for a shower party, graduation, or . .
You can get the candle holdersat JoAnn’s as well.
I am always looking for projects for my grand children. This will surely be a hit! Thanks for sharing!
You could definitely use glow sticks- and the great thing about the lights from Jo-Ann’s is they are VERY VERY bright. Lasts a long time adn I bet it would light up that PB Jar with no issues 🙂 Could even drop in 2 if you wanted 🙂
Thanks for a great idea for “craft day” at our Family Reunion Camp out. These are really cute!
What a cute idea. I will definitely try this with my own children and maybe even my preschoolers.
[…] Fabrica tu propia linterna o portavelas :AQUÍ. […]
OMG this is soooooo darn cute. I and my sis team teach a 4 year old class and we are having a pj party at school and I was in desperate need for somthing new and different. This is so right on. We jus LOVE it how creative and cute! Plus the tip about JoAnna awsome I live there and when I first saw the pic I said oh I have to get tea lights that’s gonna get expensive but ur lights will do it!!!!! So Cute!!!!! We Love it!
This is such a cute idea, I wonder if you could apply the same concept but attach a set of string lights… to use as a bigger funner night light? Cute project thanks for sharing with the cyber world 🙂
happy mommy-ing and crafting
How many layers of tissue paper? This is really cute!
[…] Night Light Jar Craft. Cover layers of colorful tissue paper all over the jar, add a good coat of glue to seal. Place a LED light to finish off this adorable piece of art for illumination as well as for garnishment.source […]
[…] Night Light Jar Craft. Cover layers of colorful tissue paper all over the jar, add a good coat of glue to seal. Place a LED light to finish off this adorable piece of art for illumination as well as for garnishment.source […]